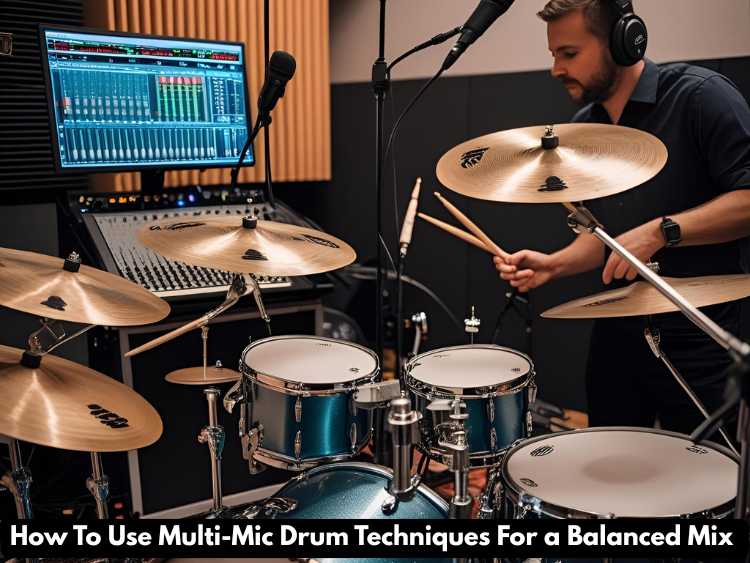
It’s very important to record great drum sounds when you’re making music. When you use more than one microphone, your drums will sound fuller, clearer, and punchier. This is called the “multi-mic method.” Yes, this works whether you’re at home or in a big studio. When you use more than one mic, though, you might run into some problems. Phase problems, fuzzy sound, and levels that aren’t even can all mess up your mix. This article will explain how to use multiple microphones to create a professional-sounding drum mix that is clean and well-balanced.

Why Use More Than One Mic?
The drums are a complicated instrument with many parts. The kick, the drum, the toms, the cymbals, and the room ambience all sound different. When you use various mics, you can:
- Take clear pictures of each part.
- Stress the differences in how different drums sound.
- Change the audio picture.
- Room or ceiling mics can be used to add depth and space.
It’s not enough to just put down several mics, though; you also need to know how to use and mix them.

Setting up the Core Drum Mics
1. Kick Drum and Mic
To strike, put a dynamic mic inside the kick drum and point it at the beater. For more low-end body, you can also use a second mic away from the drum.
Tip: To get rid of muddiness (about 300Hz), use EQ to boost punch (about 60–80Hz) and click (about 3–5kHz).
2. Snare Drum Mic
It’s always good to have a 5-core drum mic on the top head of the drum. A little more than two inches above the head, directed toward the middle. You can also mic the bottom to get drum buzz.
Tip: To keep the top mic from canceling out the phase of the bottom snare mic, flip its phase.
3. Tom Mics
The Sennheiser e604 or the Shure SM57 work well here for Toms. Put them close to the drum head but out of the way of the player.
Tip: To cut down on bleed, gate the toms or set their levels to be played only.
4. Overheads
These record the drums and make a stereo picture of the whole kit. Install condenser mics in a spaced pair or XY pattern.
Tip: Use high-pass overheads to get rid of low-end rumble (begin at 100Hz).
5. Hi-Hat Mic
A 4–6-inch-away small diaphragm condenser pointed at the edge of the hi-hat can make the sound clearer, but overheads usually do the trick.
6. Room Microphones
Set up one or two condenser mics 3 to 10 feet away from the kit to record real background noise.
Tip: To get energy and glue, squeeze the room mics.
Phase Coherence: The Killer Who Stays Away
In multi-mic drum recording, phase cancellation is one of the worst things that can happen. If two microphones pick up the same source at slightly different times, they can mess up the sound.
How to Check for Phase:
- Flip the phase of each mic and listen to see if the sound gets louder or weaker.
- Find transients (like drum hits) on the waveform and line them up by hand.
- If you need to, use time-alignment tools like Sound Radix Auto-Align.
Tip: More punch, sharpness, and low-end power come from having good phase consistency.
Setting Up the Drum Mics (Mixing Process)
1. Take a Look at the Overheads
They come with the whole kit in audio and should be your base. The highs should be balanced, and you should pan them to get a wider sound (for example, left and right drums).
2. Mix in the Close Mics
- For low-end speed and attack, add the kick.
- Add the top drum to help the mix stand out.
- If you need to, you can control or gate the toms to cut down on bleed.
3. Put Room Mics In
Raise the room mic faders little by little until the kit sounds more “live.” To get the best mix, don’t leave too much space between the ingredients.
4. Compression and EQ
- You can get rid of boxiness or mud with subtractive EQ.
- Bus compression (e.g., 4:1 ratio, 3–5dB of strength decrease) on the drum group will hold the kit together.
- For extra punch without losing dynamics, think about parallel compression.
5. Effects and Reverb
Having good room mics means that drums don’t need a lot of added distortion. A small plate reverb on the snare or a short room reverb on the toms, on the other hand, can add depth.
Conclusion
To get full control over the sound of your drum kit, multi-mic drum recording is a powerful technique that needs careful planning, placement, and mixing. You can get a measured, professional drum sound that fits perfectly in your mix if you choose the right mics, match the phases, and blend them carefully. Always trust your ears and keep practicing.