Drum bleed happens. You hit a snare, and your tom mic picks it up. You tap a hi-hat, and it leaks into everything. And while a bit of bleed can give your drum tracks a “live” feel, too much of it turns your mix into a nightmare.
The goal? Isolate your mics just enough to keep control, without killing the energy of your performance.
Here’s how to reduce mic bleed—without overcomplicating your setup or shelling out for acoustic treatment you don’t need.
1. Get Your Mic Positioning Right
Bleed starts with placement. Point your mic wrong, and it’ll grab more of what you don’t want than what you do.
- Snare mic? Aim it at the center of the head, away from the hi-hat.
- Tom mics? Tilt them slightly to reject nearby cymbals.
- Kick mic? Get it inside the drum if possible—far less overhead bleed that way.
The trick is to use the mic’s natural rejection. Most drum mics are cardioid or hypercardioid. Aim the null points (the mic’s least sensitive zones) at the loudest nearby source you don’t want—like the hi-hat.
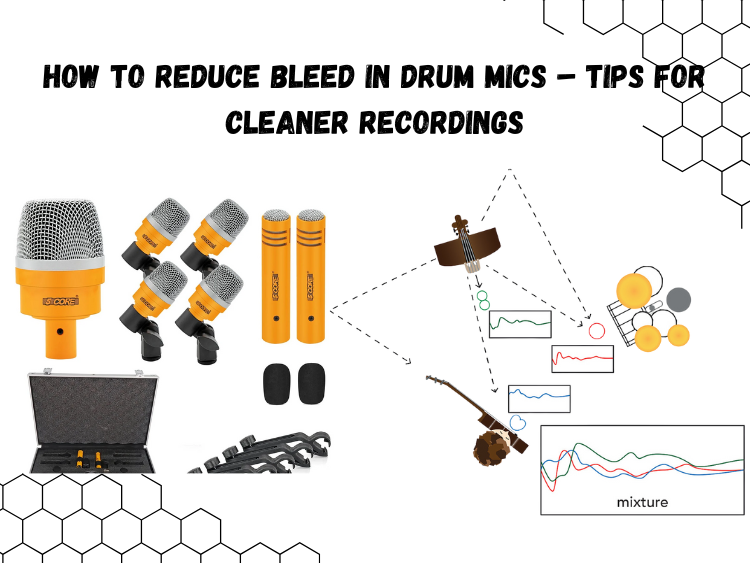
The 5 Core 7-Piece Drum Mic Kit makes this easier by sticking to tight cardioid patterns across the kit. No frills, just directional capture that works if you aim it right.
2. Use Mic Clips Instead of Stands (When Possible)
Mic stands are fine—but they put your mics farther from the source, which means more room for bleed to sneak in.
Drum mic clips lock the mic right on the drum. Closer mic = less ambient spill. You also get a better signal-to-noise ratio, which helps you pull the mic up in the mix without lifting unwanted sound.
The 5 Core kit ships with dedicated drum clips, which is a huge win for isolation. Just clamp them on, adjust the angle, and you’re set.
3. Dampen the Room, Not the Drums
You don’t need to deaden your drums—just reduce the reflections around them.
Blankets, foam panels, even heavy curtains along hard walls will help kill the reverb that gets picked up by your mics. If you’re recording in a garage, spare bedroom, or basement, just throwing up some thick fabric behind your overheads can make a big difference.
No acoustic panels? Stack some couch cushions or hang a sleeping bag. You’re not trying to build a vocal booth—just tame the worst of the echo.
4. Get Your Phase Right
Bad mic phase doesn’t cause bleed—but it amplifies it.
If two mics are out of phase, their shared content (aka, bleed) sounds bigger and messier. Get them aligned, and those overlapping sounds start canceling out in a good way.
Quick fix: flip the phase switch on your interface or DAW for the snare or overheads. Then trust your ears. If the kit gets punchier and tighter, you’ve nailed it.
5. Gate It, Don’t Over-Edit It
Bleed is normal. Don’t fall into the trap of hyper-editing every transient or chopping waveforms to death.
Instead, use gates. Set your threshold so the mic only opens when the drum it’s pointing at is actually being hit. That way, your tom mic won’t sit wide open for the entire verse when it’s only needed during a fill.
Even a basic gate plugin can clean up your raw tracks fast—no surgical editing, no weird artifacts.
6. Use the Right Mics for the Job
Not all mics reject sound equally. Omnidirectional mics will pick up everything. Condensers capture way more room tone. For close-miking drums, tight-pattern dynamics are your friend.
The 5 Core 7-piece set keeps things focused. You’ve got dedicated mics for toms, snare, and kick—all dynamic, all built to reject background noise. They don’t color the tone too much, and they’re not overly sensitive to spill. That’s what you want for cleaner recordings.

If you’re looking for premium options, something like the Shure SM81 works beautifully on overheads and room mics—if you can control the space and know how to work with its sensitivity.
7. Don’t Chase Zero Bleed
This part matters: you don’t want to eliminate all bleed.
Some bleed glues your kit together. It adds realism, keeps the drums feeling like one instrument—not 7 different ones stitched together in the mix.
The key is to reduce unwanted bleed. That means taming the hi-hat in your snare mic. Killing room boom in your tom tracks. Tightening the kick’s low end without overhead mud.
Focus on those areas, and your recordings won’t just be cleaner—they’ll be more mixable.
Final Word
Mic bleed is part of recording drums—it’s not a problem, unless you let it take over.
With smart mic placement, a little room control, and gear designed for isolation (like the 5 Core 7-piece kit), you can cut the bleed down without sacrificing feel.
Because that’s the end goal: a clean drum mix that still feels alive