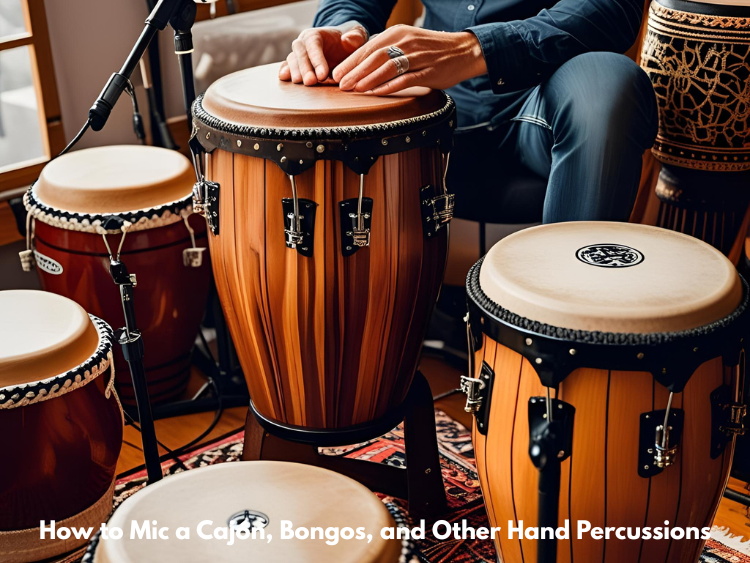
The proper tone of your hand percussion can ruin or redeem a live performance or a recording. Other musical instruments such as the cajon, bongos, congas and the shakers possess distinct sounds that should be heard. However, it is not always the case that to mic them, one can point and record. Improper mic positioning may produce undesirable boomy lows, smacking highs, or even missing the details. With the help of this guide, you will learn how to capture the natural warmth, punch and character of your hand percussion, be it on the stage or in the studio.
Putting on a Cajón
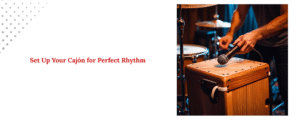
It’s a box drum made of wood with a sound hole in the back. To make bass tones, players hit the middle of the front plate and slap it near the top ends in a higher-pitched way. This range of tones makes it very important to place the mic correctly.
Setting up the studio:
For cajón miking, use two mics for best sound:
- Mic 1 (Low Frequencies): Use a dynamic mic like the 5Core drum mic or similar (e.g., AKG D112, Shure Beta 52A). Place it 3–6 inches from the back sound hole. Avoid placing it too close to prevent booming and air noise
- Mic 2 (Slap Tones): Use a small diaphragm condenser mic. Place it 6–12 inches in front of the cajón, angled toward the top of the front plate for clear slap sounds.
Set up live:
- For ease of use, a single mic option often works best. Any clip-on mic, like the Audix ADX20, or an internal mic, like the ones in Schlagwerk recording systems, can clean up and boost the sound.
- You could also put a cardioid mic close to the sound hole and EQ it to get rid of the muddiness while raising the mids and highs to make the sound clear.
For top options, check out the best drum mic kits for home studios.
Playing the Bongos
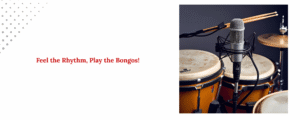
There are two small drums of different sizes that make up a bongo. These instruments are usually played with the fingers and hands, making complicated patterns with hits, muted strokes, and open tones.
Where the mic is:
- If you want to record fast sounds, use a dynamic mic with good rapid response, such as the Sennheiser e604 or Shure SM57.
- Place the mic 6 to 10 inches above the drums so that it points between the two heads. Make the angle right so that the macho (the smaller drum) and hembra (the bigger drum) are both balanced.
- If you want to get more of the natural reverberation and less of the sharp attack, don’t put the mic right over the middle of the head.
Setting up a stereo for the studio:
- Use two mics, one over each drum, for a better audio picture.
- To make a natural spread, pan them a little in the mix.
Advice:
- Cut out low-end rumble that you don’t need with high-pass filters.
- Pay attention to how the room sounds—too much echo can make it hard to hear.
New to this? Explore drum mic kits for beginners.
Other Hand Percussion (Tambourine, Congas, Djembe, and Shakers)
Even though each hand percussion instrument is different, there are some general rules that can help you figure out how to mic them.
Congas:
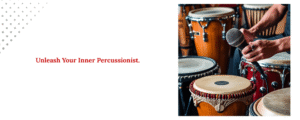
- They are played in pairs or groups and sound deep, powerful.
- It is possible to employ different kinds of microphones, e.g. the Sennheiser MD 421 or the Neumann KM184.
- High above, 8-12 inches above the drumhead, pointing into the centre, but a little off centre so that it only picks up a little slap.
- To provide even more detail, place a mic underneath the drum so that the bass reaction can be registered.
Drums:
- It sounds like a conga but has stronger low and high tones.
- On the bottom, put a big diaphragm dynamic (like an Electro-Voice RE20), and on top, put a small diaphragm condenser.
- Just one mic? Put it 6 to 10 inches in front of the drumhead at a 45-degree angle.
Shakers:
- There are a lot of high-frequency transients in shakers.
- A small diaphragm condenser like the Audio-Technica AT4041 should be used.
- Take the mic from about 6 to 12 inches away, but give the player room to move, if possible.
- Isolate the shaker from other instruments by using a cardioid rhythm.
The Tambourine:
- Also having a lot of brief content, monitors that pick up clear sounds work well with tambourines.
- Stick mics or even ribbon mics (for a smoother high end) work well.
- Mount the tambourine and mic it like you would a snare drum.
- For less song bleed, hold the mic about 6 inches above or slightly to the side if you’re using your hand.
Conclusion
The hand percussion can give a great amount of variety and beat to any musical arrangement; however, it must be recorded consciously. When you are in the studio or on the stage, choosing the right microphone and positioning it to suit can mean the difference between a dull thud and an expressive, lively beat. Experiment with placements, engage your ears and never dial a final setting without doing a test pass.