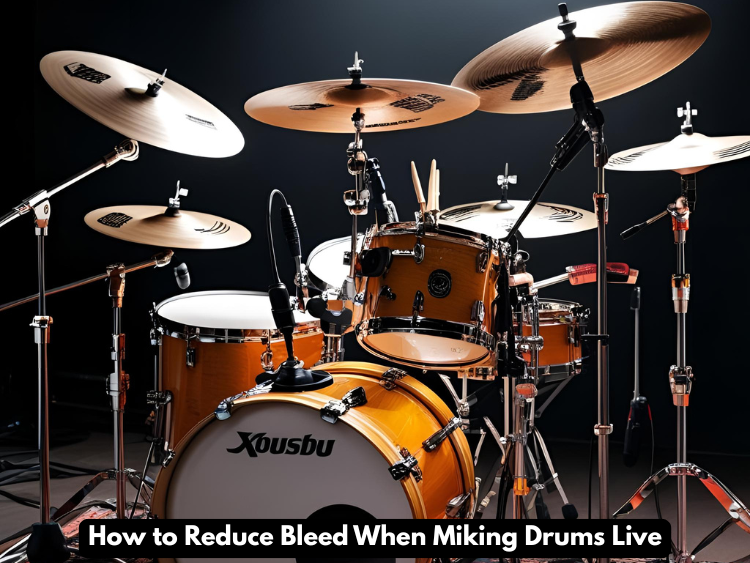
One of the hardest things for an audio engineer to do is mic a drum kit for live sound. One of the hardest things to do? Cut yourself. That’s when a mic meant for one drum (or something else) picks up sound from other drums or instruments close by. EQing and controlling dynamics can get really messy, and it can be hard to fix. But there is good news: bleeding can be cut down a lot if you know how to do it right. This will give you a clean, sharp drum sound in this article.
Make Use of Directional Microphones
Getting the right drum microphone is the easiest and best way to cut down on bleed. To block out sound from the sides and back, cardioid, supercardioid, and hypercardioid microphones are made.
- Cardioid: Your toms, snares, and hi-hats will sound great with cardioid. They pay attention to the sound in front of them and do their best to block out noise from behind.
- Supercardioid and Hypercardioid: Pickup pattern is more focused, and side rejection is higher. These work great for snare drums or small stage sets.
- Avoid Omnidirectional Mics: You shouldn’t use omnidirectional mics to record live drums because they pick up everything around them, which makes bleed much worse.
Where You Put the Mic Is Important
A lot can be changed by making small changes. Put each mic as close to the sound source as it is possible to do so without getting in the way of the drummer’s play.
- Snare and Toms: Point the mic straight at the drumhead at a 45-degree angle, about 1 to 3 inches away.
- Hi-hat: To avoid drum bleed, put the mic 3 to 5 inches above the top cymbal and slightly off-axis to it.
- Overheads: Set them up in an XY or spaced pair setup so that they pick up drums and the stereo picture with as little kick/snare bleed as possible.
- Experiment: Try different mic settings. A small twist away from drums or cymbals close can cut bleed by a lot.
Use Flaps or Shields on the Drums
Acoustic barriers, such as plastic drum covers or foam blocks, can help separate the kit from other sounds on loud stages or in smaller settings. While these don’t fully stop bleeding, they do cut down on stage spill into voice or guitar mics and help control reflections from other sources.
Note that drum covers can also trap sound and make the kit sound “boxy” or less lively. When you use them, be smart and make sure you use the right mic methods.
Gates and Processing That Changes
A noise gate can be very helpful once the mics are set up. Audio below a certain level is blocked by gates, so microphones only pick up sound when the drum is being hit.
- Settings: To keep the drum sound realistic, lower the attack and release settings.
- Overhead or Room Mics: These are meant to pick up more than just single hits, so don’t use strong blocking on them.
- Additional Tools: Transient designers and multiband compressors can also help shape the tone and stop bleed from adding frequencies that aren’t needed.
Aligning the Phases Is Important
It’s easy for mics all over the kit to get out of step with each other, which cancels out some frequencies and makes bleed more visible.
- Invert Phase: Invert the phase on each mic using the polarity switch, which is usually marked with a circle and a slash. This will make the sound tighter and punchier.
- Phase Tools: To keep phase problems to a minimum, you might want to use a phase adjustment tool or measure the lengths between mics and the source.
Tune the Drums and Dampen Them Down
When drums are tuned correctly, their tones are louder and more focused, which makes it easier to separate each beat. For example, rumble and linger that gets into other mics can be caused by heads that are too loose or resonance.
- Control Sounds: To control sounds, you can use rings, gels, or internal damping.
- Hybrid Options: If you have a lot of bleed, you might want to look into mesh heads and triggers for combination sets.
Not only does a well-tuned kit help the front-of-house sound, it also helps the drummer play better.
Last Thoughts
When you mic live drums, you can’t avoid bleed, but it doesn’t have to ruin your mix. You can keep bleeding under control and play clean, professional drum sounds every night by choosing the right mics, placing them carefully, being aware of phase, and using dynamic processing. You will thank your audience and your friends for taking the time to plan ahead.