Recording drums at home drum recording can be super satisfying—but it can also be a bit intimidating, especially if you’re working with a small space drum miking. You’ve got to deal with things like echo, limited mic placement options, and not-so-great acoustics. But don’t worry! With a little planning and a smart mic setup, you can still get some awesome drum sounds without needing to hit up a fancy studio. Here’s how to make the most of a small space drum miking and set yourself up with the right gear to record like a pro.
Basic Room Fixes Before Miking
Take some time to get to know your room before you set up the drum mics. Most small home studios don’t have acoustical treatment, so sound waves bounce off the walls, causing the sound to be fuzzy or adding unwanted echoes.
A few simple changes can make a big difference:
- Mats and rugs can help keep floor effects in check.
- Heavy curtains or blankets can hide wall sounds caused by flutter.
- You can make your own sound-improving panels out of rockwool or foam.
Setting up your mic in a more controlled space will make it work better, even if you don’t do a full sound treatment.
Pick a Drum Set That Fits the Room
You might want to scale down if you’re using a full-sized kit. In a small room, boominess can be reduced with a smaller kit, like a jazz setup with a 20″ kick and small toms. You can also experiment with different heads, settings, and muffling methods to get a better sound.
If you need to play late at night or live in an apartment with thin walls, hybrid kits (acoustic shells with electronic triggers) or quiet kits (low-volume drums and mesh heads) can save the day.
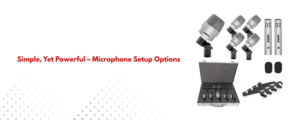
Options for Setting Up the Mic, From Simple to Multi-Mic
You can record great drum sounds with one to eight mics, depending on your budget and the gear you have. Here are some good ways to do things in small spaces:
A. One Mic Setup (Drum Sound in Mono)
One mic will do if you’re on a tight budget or want a low-fidelity sound. Position a dynamic or condenser mic with a big diaphragm 3–4 feet in front of the drum kit, just above kick level. This ensures that the whole kit is captured in a balanced way.
Pros:
- Easy and quick setup
- Great for old or raw sounds
- Easier to mix with less room tone
B. Two-Mic Setup (Overhead + Kick or Stereo OH)
It will sound better with a second mic. Some common combos are:
- Overhead and Kick: Place a condenser mic above the drum kit and a dynamic mic on the kick.
- Stereo Overhead: Place two condensers above the kit in an XY or spaced pair arrangement, and use EQ to improve the kick and snare sound.
Pros:
- More depth than mono
- Keeps phase problems to a minimum
- Easier to mix
C. Three or Four Mic Setup (Glyn Johns or Recorderman)
These two famous methods help capture a smooth, classic drum sound:
- The Glyn Johns Method:
- One mic about three feet above the drum kit
- Another mic pointed at the snare from the level of the toms
- Kick and snare spot mics (optional)
- The Recorderman Method:
- One ceiling mic above the drum kit
- Two mics on either side of the drummer (one on the right shoulder, one above the snare)
- Kick mic optional
Pros:
- Classic and punchy sound
- Snare stays centered in the mix
- Phase-coherent and room-friendly
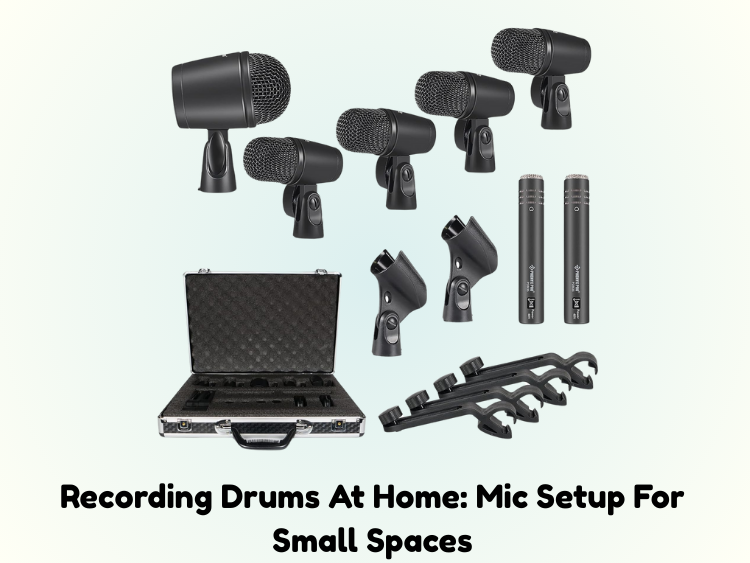
D. Full Setup with Multiple Mics (5–8 Mics)
If you have the space and gear:
- Kick (in or out)
- Top or bottom snare mic
- Hi-hat
- Toms
- Stereo overheads
- Room mic (if your room sounds good)
This setup gives you the most control, but in small rooms, it can lead to timing issues and mic bleed.
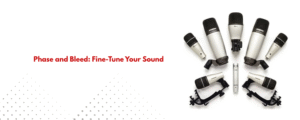
How to Handle Phase and Bleed
Problems with phase can make your drums sound thin or jumbled, especially in a small room. Here are some tips to help:
- Keep mics at least three times as far away from each other as they are from the source. This is called the 3:1 rule.
- If you have a DAW, check the phase line. You can get a tighter sound by phase-inverting the direction on your overhead or tom mics.
- To spot phase issues, record a test hit of all the drums and listen to it both solo and in mix mode. For more on handling mic bleed, check out How to Reduce Mic Bleed When Recording Drums.
Think Outside the Box with Room Mics
Even in small spaces, you can be creative with your room mic placement. Try putting a room mic in a bathroom or closet for an interesting sound. For a rough “crushed room” effect, try squeezing a cheap mic very tightly and mix it in after the main tracks. If your room doesn’t sound good, avoid directly miking it. Instead, use convolution reverb tools that simulate real room sounds.
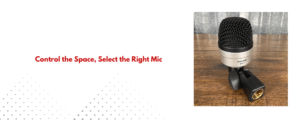
Tips for Choosing a Mic for a Small Room
When recording in a compact drum mic setup, choosing the right mics can make all the difference. Here are some reliable options that consistently deliver great results in small home studios:
- Kick: Shure Beta 52A, AKG D112
- Snare: Shure SM57, Audix i5
- Overheads: Rode NT5, Audio-Technica AT2020
- Room: Aston Origin, or any good LDC (Large Diaphragm Condenser)
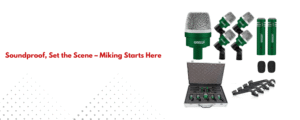
If you’re looking for an all-in-one solution, consider the 5 Core 7-Piece Drum Mic Kit. It includes dedicated mics for kick, toms, and snare, making it a budget-friendly and reliable option for home drum recording and compact drum mic setups.
Last Thoughts
You don’t have to compromise on sound quality when recording drums in a small home studio. With the right mic placement, some creative thinking, and a bit of sound treatment, you can achieve great results. Start with a simple setup, experiment with different configurations, and gradually add to your gear as needed. Whether you’re aiming for a rough punk sound or a polished pop vibe, you can make your drum tracks sound much better than you might expect.